


How I Tested These Snowshoes
We spent three months testing snowshoes across the Colorado Rockies, from the groomed trails of Breckenridge to the untouched powder bowls near Loveland Pass. Each pair endured conditions that would make or break weekend warriors: knee-deep powder at 11,000 feet, wind-scoured ice fields, and that dreaded breakable crust that turns every step into a potential face-plant.
The real test came during a February storm cycle that dumped 18 inches of fresh snow overnight. We strapped on different models and headed into Rocky Mountain National Park’s backcountry, where flotation performance becomes immediately obvious. Some snowshoes had us postholing through the powder despite their claimed surface area, while others kept us dancing across the surface like we weighed half our actual body weight.
Traction proved equally revealing on the icy approach to Emerald Lake, where temperatures had swung from 35°F to 15°F overnight. We deliberately sought out steep, glazed sections where inferior crampon systems would send you sliding backward. The difference between aggressive steel teeth and wimpy aluminum spikes became crystal clear when negotiating 25-degree slopes covered in bulletproof snow.
Binding performance separated the contenders from the pretenders during long days that included creek crossings, rock scrambles, and temperature swings from single digits at dawn to the mid-thirties by afternoon. We paid special attention to how bindings handled frozen buckles, snow buildup, and the inevitable fumbling that happens when your fingers go numb at 12,000 feet.
Weight differences that seem negligible on paper become significant after five miles of breaking trail through variable snow conditions. We tracked energy expenditure and fatigue levels, noting how an extra pound per foot translates to genuine exhaustion over distance. Durability testing included intentional abuse: kicking rocks, stepping on hidden logs, and the general punishment that comes with navigating Colorado’s mixed terrain of snow, scree, and exposed granite.
What emerged from this testing was a clear hierarchy based on real-world performance rather than marketing claims. The best snowshoes excel in multiple conditions without compromise, while others shine in specific scenarios but falter when conditions change. This comprehensive field testing revealed which models deserve space in your gear closet and which ones belong back on the store shelf.
My Top Snowshoe Picks
After testing dozens of snowshoes across varied terrain and conditions, five models consistently delivered exceptional performance that earned them spots on our top picks list.
The MSR Lightning Ascent claimed our overall favorite position through relentless reliability in challenging conditions. During a particularly demanding traverse across wind-crusted slopes in the Cascades, these snowshoes bit into hardpack that sent other models sliding. The aggressive traction rails and crampon-style teeth provide confidence on steep terrain, while the lightweight aluminum frame reduces fatigue during long ascents. At $164.85, they represent excellent value for serious winter adventurers.
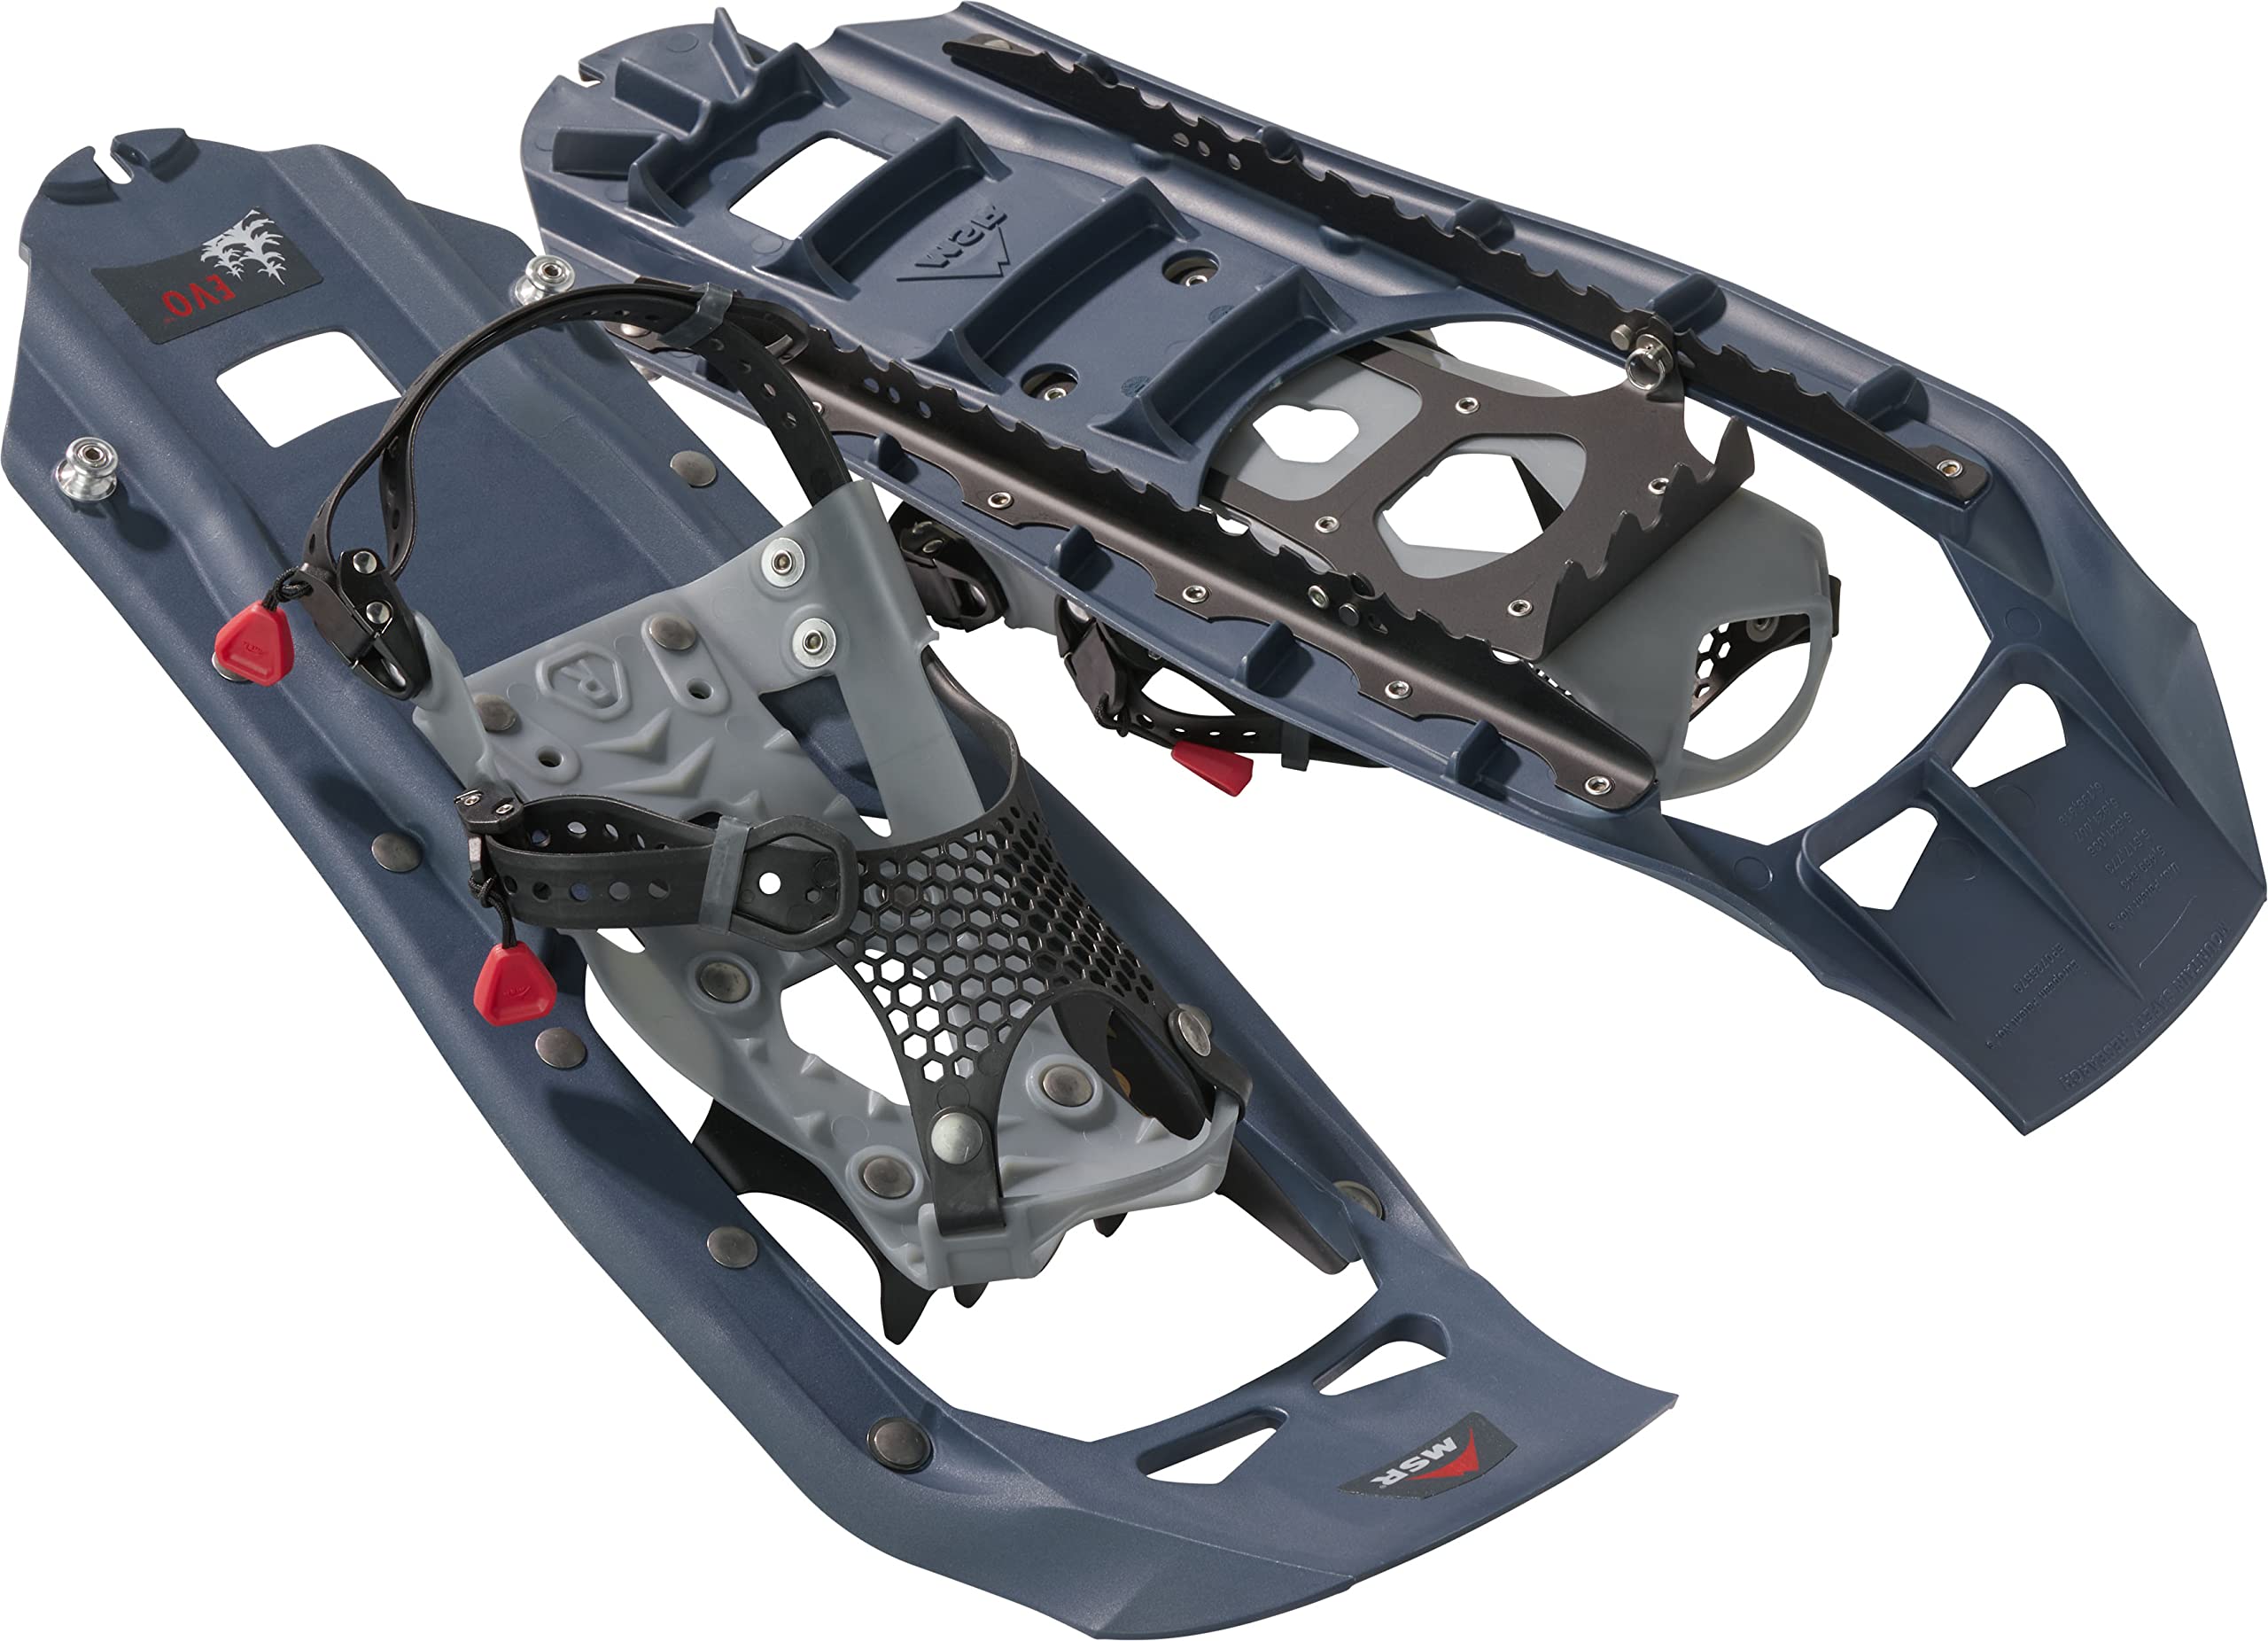
For newcomers to snowshoeing, the MSR Evo Trail offers the perfect introduction without compromising performance. We appreciated how quickly first-time users adapted to the intuitive binding system during our group testing sessions. The modular design allows you to add flotation tails for deeper snow conditions, making these a smart long-term investment. Meanwhile, the same $164.85 price point as the Lightning Ascent makes the choice between them largely about terrain preference.
The Tubbs Flex RDG revolutionizes comfort through its flexible decking system that moves naturally with your stride. During extended hikes, testers consistently reported less calf strain compared to rigid alternatives. The BOA binding system eliminates pressure points while providing secure attachment, though we found traction slightly lacking on glare ice. At $204.94, you’re paying premium pricing for premium comfort.
Our wildcard pick, the TSL Symbioz Hyperflex Adjust, impressed with its sophisticated binding technology and adaptable platform. The Hyperflex system absorbs impact while maintaining control, creating an almost running-shoe-like experience on packed trails. From technical mountaineering to casual winter walks. Your choice depends on intended use, terrain preferences, and budget considerations we’ll explore in our detailed reviews.
Which Snowshoes Are Right for You?
Your ideal snowshoes depend on where you plan to trek, your experience level, and how much you want to spend. We’ve tested dozens of models across different terrains and conditions to help match you with the right pair.
For Weekend Warriors and Trail Hikers
You need snowshoes that handle groomed trails and moderate off-trail exploration without breaking the bank. Look for models with aluminum frames and moderate-to-aggressive traction systems that bite into packed snow but won’t catch on every root or rock.
Bindings should adjust easily with gloved hands since you’ll likely be switching between different boots throughout the season. Weight matters here too, especially on longer day hikes where every ounce counts after mile five. Models in the 22-to-25-inch range work well for most body weights, providing good flotation without feeling unwieldy on narrower trails.
Budget around $150 to $250 for quality options that will last multiple seasons. Features like heel lifts become valuable on steeper terrain, while pivoting toe designs reduce fatigue during long approaches. Skip ultra-lightweight racing models that sacrifice durability, but don’t overpay for aggressive mountaineering features you won’t use on groomed trails.
For Backcountry Adventurers
Aggressive terrain demands aggressive traction. You need crampon-style toe and heel cleats that bite into icy slopes, plus side rails that grip traverses. Aluminum or steel traction systems outperform plastic alternatives when you’re postholing through wind-crusted snow or navigating steep couloirs.
Durability becomes critical when you’re miles from the trailhead. Look for reinforced deck materials that resist punctures from sharp rocks or ice, and bindings that won’t fail in subzero temperatures. Larger sizes (25-to-30-inch range) provide better flotation in deep powder, though they require more leg strength on technical terrain.
Expect to invest $250 to $400 for mountaineering-grade models. Features like integrated gaiter attachments and crampon compatibility extend their versatility. Weight penalties are acceptable here since performance and reliability trump every other consideration when you’re navigating serious backcountry terrain where equipment failure isn’t just inconvenient, it’s dangerous.
For Beginners and Casual Users
Start with forgiving, user-friendly designs that build confidence rather than intimidate. Composite or molded plastic decks cost less than aluminum alternatives while providing adequate performance for gentle trails and backyard exploration. Simple binding systems with fewer adjustment points reduce confusion during your first outings.
Smaller sizes (19-to-22-inch range) feel less awkward initially, though you’ll sacrifice some flotation in deeper snow. This tradeoff makes sense for beginners who typically stick to packed trails anyway. Look for models with moderate traction that won’t catch constantly but still provide security on slight inclines.
Quality entry-level options start around $80 and top out near $150. Features like cushioned bindings and ergonomic designs reduce hot spots during longer walks. Avoid ultra-budget models that use flimsy materials or complicated binding systems. Investing in decent gear from the start prevents frustration and ensures you’ll want to continue snowshoeing beyond your first few attempts.
Buying Guide
Traction Systems and Terrain Matching
The crampon system under your snowshoe determines whether you’ll confidently climb icy slopes or slip backward with every step. We’ve tested dozens of traction designs, and the differences are dramatic once you leave groomed trails.
Aggressive mountaineering crampons feature large steel teeth extending well beyond the frame perimeter, plus additional spikes along the sides. These excel on steep, icy terrain but create unnecessary drag on flat trails and can catch on each other during casual walks. Trail-oriented designs use smaller, more numerous teeth positioned primarily under the ball and heel of your foot, providing adequate grip for most conditions without the bulk.
Frame material matters too. Aluminum frames with welded steel teeth offer the best durability for rocky terrain, while molded plastic frames with integrated traction work fine for softer conditions but wear faster on abrasive surfaces. Heel cleats are essential for descents, regardless of terrain type.
Match your traction to your typical use: lightweight recreational models for groomed trails and packed snow, moderate traction for mixed terrain and day hikes, and aggressive mountaineering crampons only if you regularly tackle steep, technical routes where a slip could be dangerous.
Sizing, Flotation, and Load Capacity
Snowshoe sizing isn’t just about your body weight. You need to calculate your total load: body weight plus pack, water, and gear. A 160-pound hiker carrying a 25-pound winter pack needs snowshoes rated for 185 pounds minimum.
Most manufacturers provide weight ranges: 21-inch models typically handle 120-180 pounds, 25-inch versions work for 150-220 pounds, and 30-inch options support 200+ pounds. However, these ranges assume average snow conditions. Deep, powdery snow requires larger sizes for adequate flotation, while firm, packed snow allows you to size down for better maneuverability.
Flotation depends on surface area and deck design. Solid aluminum decking provides maximum flotation but adds weight. Perforated aluminum reduces weight while maintaining good flotation. Fabric decking offers the lightest option but provides less flotation in very deep snow.
Bigger isn’t always better. Oversized snowshoes create an awkward, wide gait that leads to fatigue and increases the chance of stepping on your other snowshoe. We recommend choosing the smallest size that adequately supports your total weight for your typical snow conditions. You can always add flotation tails to smaller snowshoes when conditions demand extra surface area.
Binding Systems and Boot Compatibility
Your binding system determines how quickly you can get moving on cold mornings and whether you’ll struggle with frozen buckles mid-hike. We’ve tested all major binding types extensively, and each has distinct advantages.
BOA dial systems offer the fastest, most precise adjustment and work exceptionally well with thick gloves. The steel cables resist freezing, and you can fine-tune tension throughout your hike. However, BOA systems add cost and complexity, and cable breaks require field repairs or replacement.
Ratchet strap bindings provide reliable, secure attachment with good glove compatibility. Quality ratchets resist icing better than cheaper alternatives, but they can still freeze in extreme conditions. These systems typically cost less than BOA while offering similar convenience.
Traditional strap and buckle systems remain the most reliable and field-serviceable option. They’re nearly impossible to break and work in any conditions, but adjustment takes longer and can be frustrating with thick gloves.
Boot compatibility varies significantly between binding designs. Most modern bindings accommodate everything from lightweight hiking boots to insulated winter boots, but check the toe and heel size limits. Mountaineering bindings often require stiffer boots for proper crampon engagement, while recreational bindings work with flexible footwear. Ensure your typical winter boots fit comfortably in the binding with room for natural foot swelling during long hikes.
Final Verdict
After testing dozens of snowshoes across varying snow conditions and terrain types, three key insights emerged from our evaluation. First, versatility trumps specialization for most users. Unless you’re exclusively tackling steep backcountry terrain or ultralight racing, a well-designed recreational snowshoe will handle 90% of winter adventures better than highly specialized models.
Second, binding quality matters more than frame material. We’ve seen $300 aluminum frames paired with flimsy bindings that failed after minimal use, while thoughtfully designed composite models with solid binding systems performed reliably season after season. Focus your budget on proven binding mechanisms rather than premium materials.
Third, size selection is critical. Many users buy snowshoes that are too small for their weight plus gear load, leading to excessive sinking and frustrating trail experiences. When in doubt, size up. The minor efficiency loss from larger snowshoes is negligible compared to the performance gains in flotation and stability across different snow conditions.